HOW TO PLANT AND GROW DAHLIAS
You will recieve your dahlias in April, once all chance of frost has passed and they can be shipped safely. Please inspect your tubers upon receiving them to make sure they are healthy and happy. Please email us immediately at newpetalflowerfarm@gmail.com if something does not seem right. Pictures are very helpful and help us to help you!

STORAGE OF TUBERS UNTIL PLANTING:
- Store tubers in a cool, dark spot until spring planting. Do not let them freeze. If you notice condensation building up in the plastic bag, open the bag for a few hours or one day and let things dry off. Check tubers once a month to make sure they are not too wet since this causes rot. On the flip side, do not let tubers dry out. Storing tubers in a breatheable container such as a cardboard box without a plastic liner is not advised, unless your storage area has a high humidity of at least 80%.
- An un-heated basement is the perfect location to store tubers. A garage can also work, but make sure they will not freeze since this will cause irreversible damage to the tubers. Keep tubers in the dark, away from windows or in a plastic bag inside a cardboard box to keep them from sprouting prematurely.

PLANTING
- Tubers that are being planted directly into the ground can be planted outside a few weeks before the last frost in spring. The exact timing will depend on your zone and the weather from year to year. Ideally, soil temperatures should be 60 degrees. You can buy a soil thermometer for fairly cheap and they are very handy to have around. Here in zone 6b, we usually plant tubers outside in early May. Our last frost is usually mid-May .
- It may take up to 6 weeks for green growth to emerge. The earlier you plant, the longer it will take since soil temps are cold in the beginning. Be patient! The tubers will be putting out roots before they sprout green foliage above ground.

- Make sure the area you plant your tuber in receives full sun. Soil should be moderately rich. When in doubt, add an inch of compost and turn it into the soil about 6” deep. Do not plant dahlias anywhere that is water logged. They require good drainage and will rot and become stunted if too wet.
- Dig a hole about 6” deep with a small shovel. Place the tuber in the hole with the eye (neck with sprout) facing up. The eye of the tuber should be about 3” deep. Do not water the plants at all at planting. Wait until you see green growth appear above ground to start watering. Even then you can water pretty sparingly, assuming regular rains grace your garden as they usually do here in New England.
- Tubers may also be potted up early in a greenhouse or under grow lights in March to be planted out in May. However, pots should be an adequate size, at least 1 gallon, and the plants should be pinched at least once or twice to encourage branching. Make sure you wait until after the last frost to plant potted dahlias outside. Their tender foliage can be easily damaged by frost.

CARE
- Once your dahlia starts to grow and reaches about 6” tall, you can pinch the top growth point (if you haven’t already with potted dahlias). This will encourage the plant to branch out and produce more blooms and longer, stronger stems.
- Dahlias should be watered deeply once or twice per week unless rains have been steady.
- Keep an eye out for slugs in spring when plants emerge. Application of an organic slug product may be necessary. If you have had slug issues in that area before, I recommend putting your slug product down immediately at planting, or whenever you see green foliage coming up above ground. It does not take long for those little suckers to do some serious damage!
- A medium sized tomato cage (42”) is ideal for supporting plants. If you have many dahlias and long rows, you can also use hefty stakes and twine to corral them. Floral netting can also supporting stems well, although it also makes harvesting slow. There are both plastic and natural twine floral nettings available on the market.
- Dahlias can be lightly mulched on top to help keep water retention. Don’t mulch too heavily though. Up to 1 inch is plenty.
- A well balanced organic fertilizer can be scratched into the surface every month or so after planting. The fertilizer should have a low Nitrogen content and higher phosphorus content since the latter is more important for flowering. If you have a soil test, always follow the recommendations on that as well. Dahlias don’t need super rich soil, just moderately rich, well drained soil. Moderate watering and plenty of sun.

HARVESTING DAHLIAS
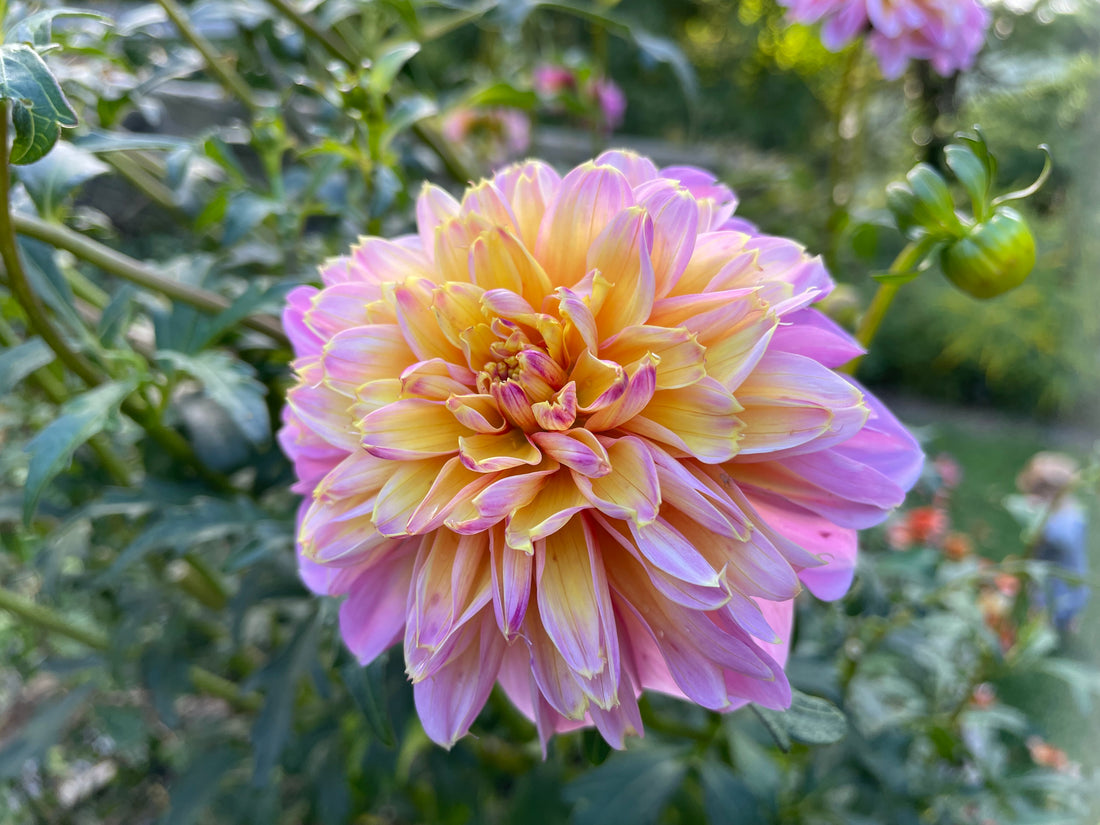
- Dahlias are a unique cut flower in that they should be harvested when fully open. Most other cut flowers are cut when half open or even when the bud has barely cracked. Dahlias, however, get to be fully enjoyed by both the grower and the purchaser.
- Make sure to cut your dahlias before the back petals start to dry/shrivel up and fall off. For collarette or single varieties with an open center, cut blossoms when the center is still fresh and unpollenated for the longest vase life.
- Be sure to cut your stems about 18” long. The longer you cut your stems, the stronger your re-growth will be and the longer your stems will grow back.
- Strip the leaves off the lowest 6” of the stems. Leaves immersed in vase water will cause rot. Put them in a vase of clean water and enjoy! Blooms should keep for around 5 days. By that time, you will have another flush of blooms ready to be cut on your plants!
- Ideally, dahlias should be harvested twice per week for the freshest, highest quality blooms. Again, the more you cut, the more they bloom! Never try to “save” a blossom for later; holding off cutting the plants will only slow production. Plants will produce armfuls of blossoms until your first frost. Here in Connecticut, that is usually mid-October but can be as late as November.

